Share post
Fitting Glass Balustrade Systems
Redesigning your home or business is extremely exciting! It’s a great way to give your property a fresh new look whilst improving the quality and functionality for everyone living in or visiting the area.
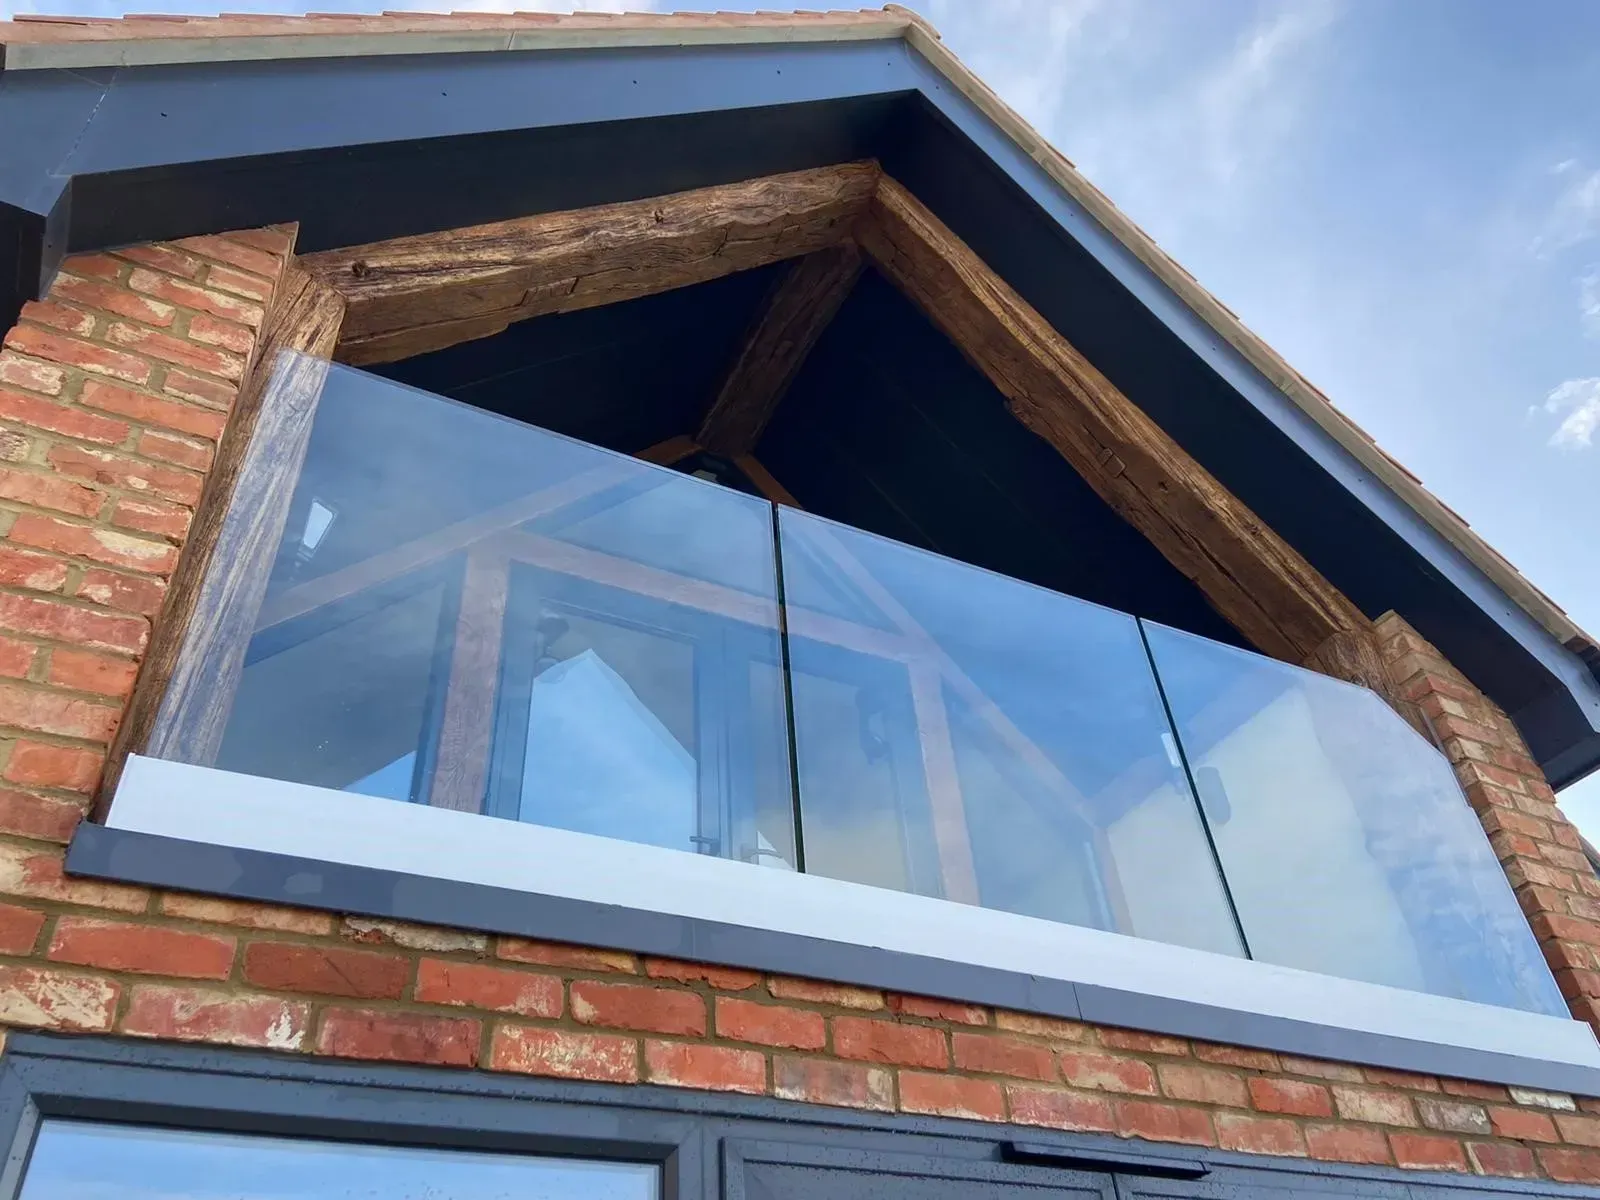
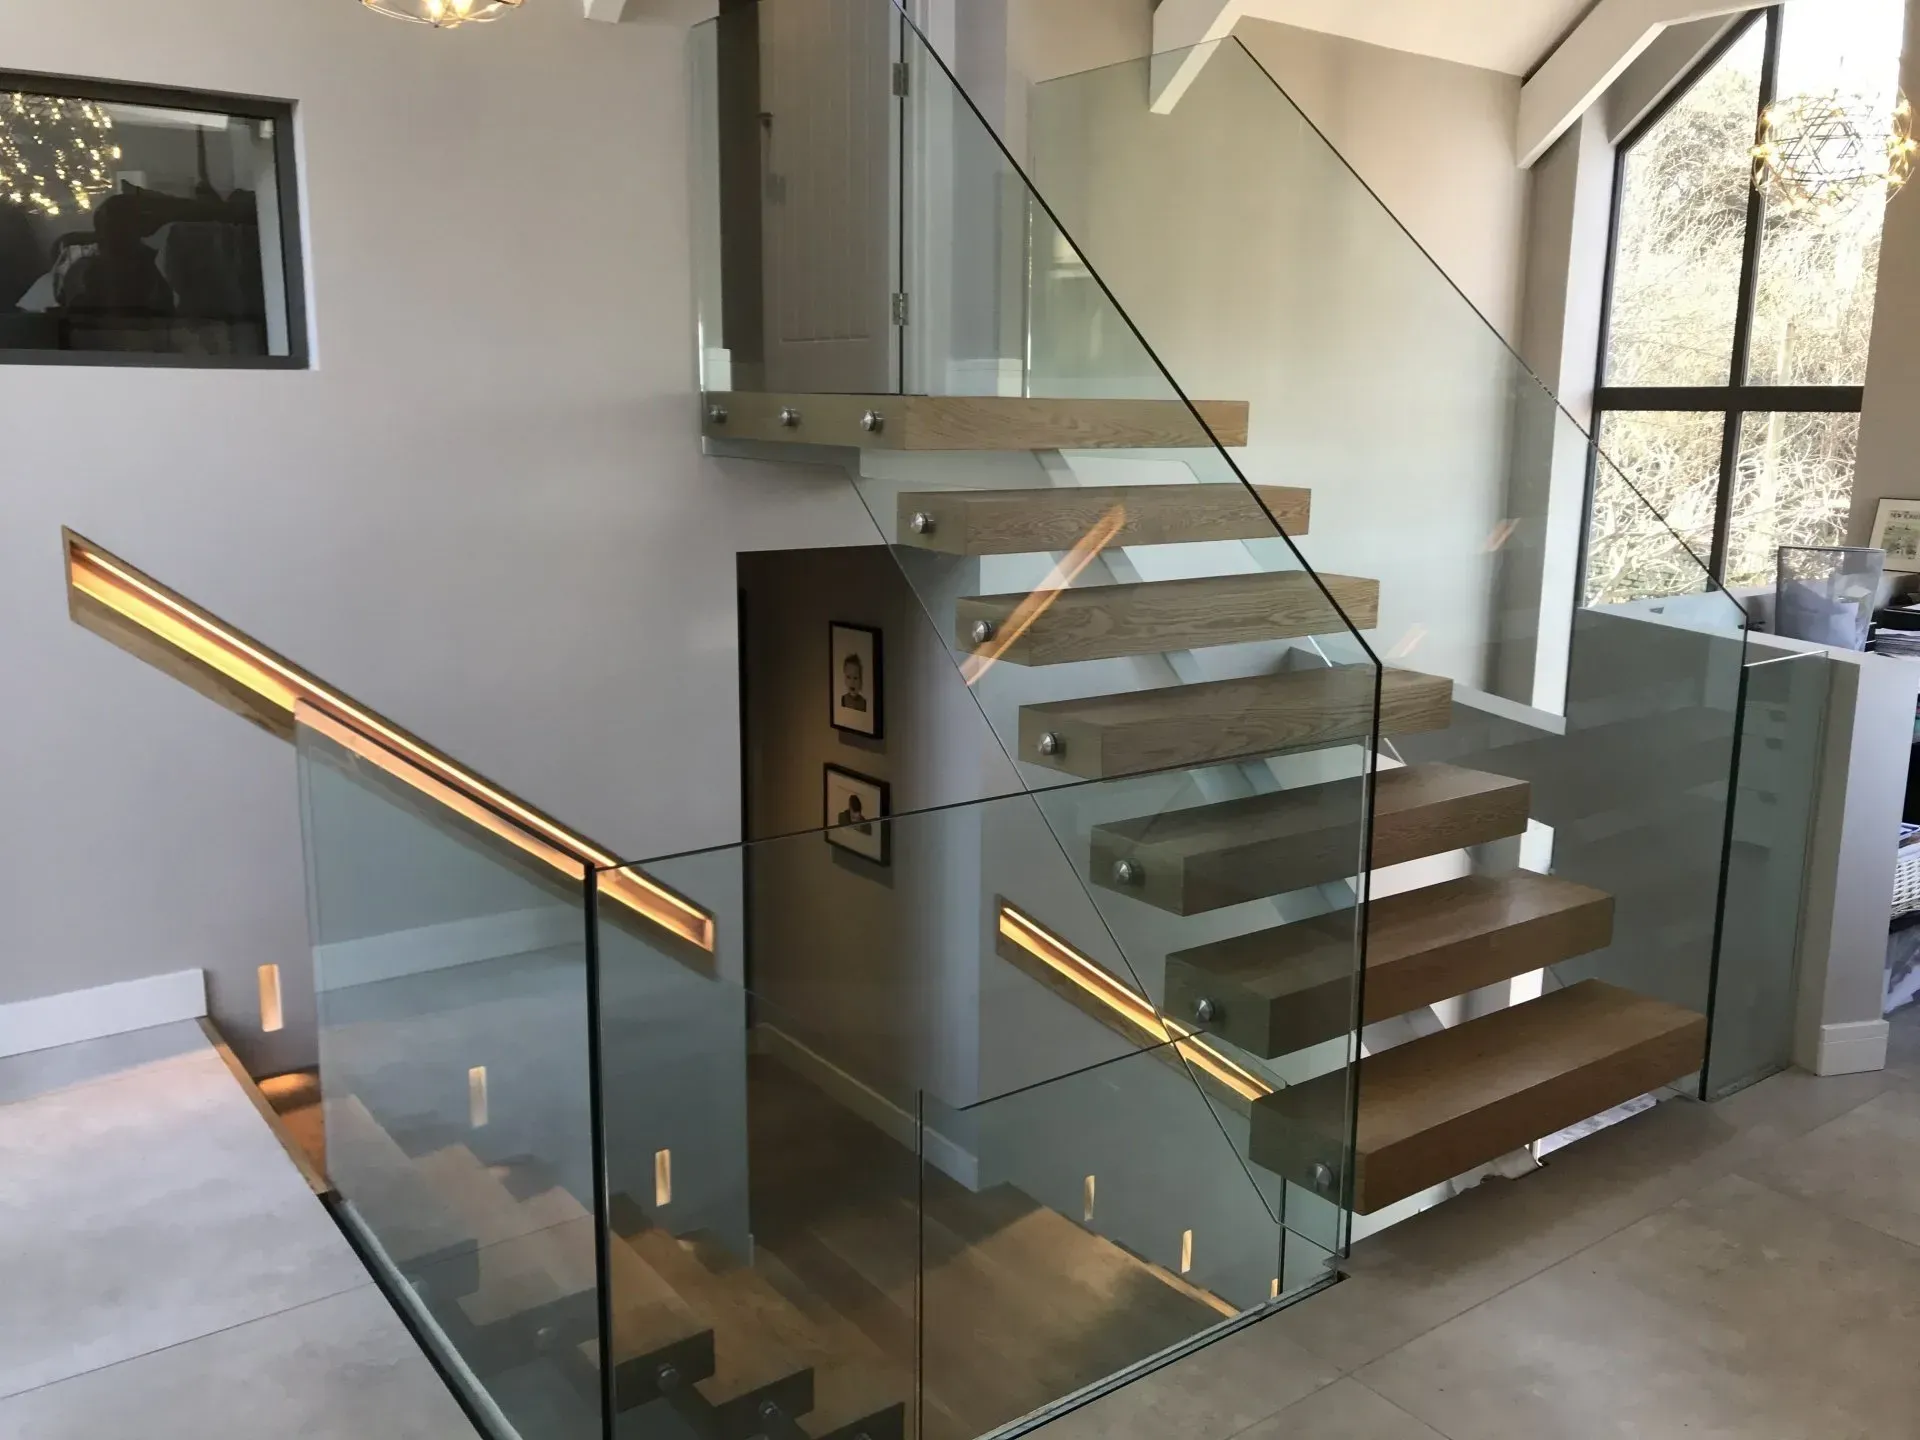
Amongst the many sophisticated features you can add to your space, glass balustrade systems have probably piqued your interest when looking for ultra-modern design ideas.
Modular balustrade systems have a wide array of choices when it comes to its unique design such as infills, handrails, positioning of fixtures and location.
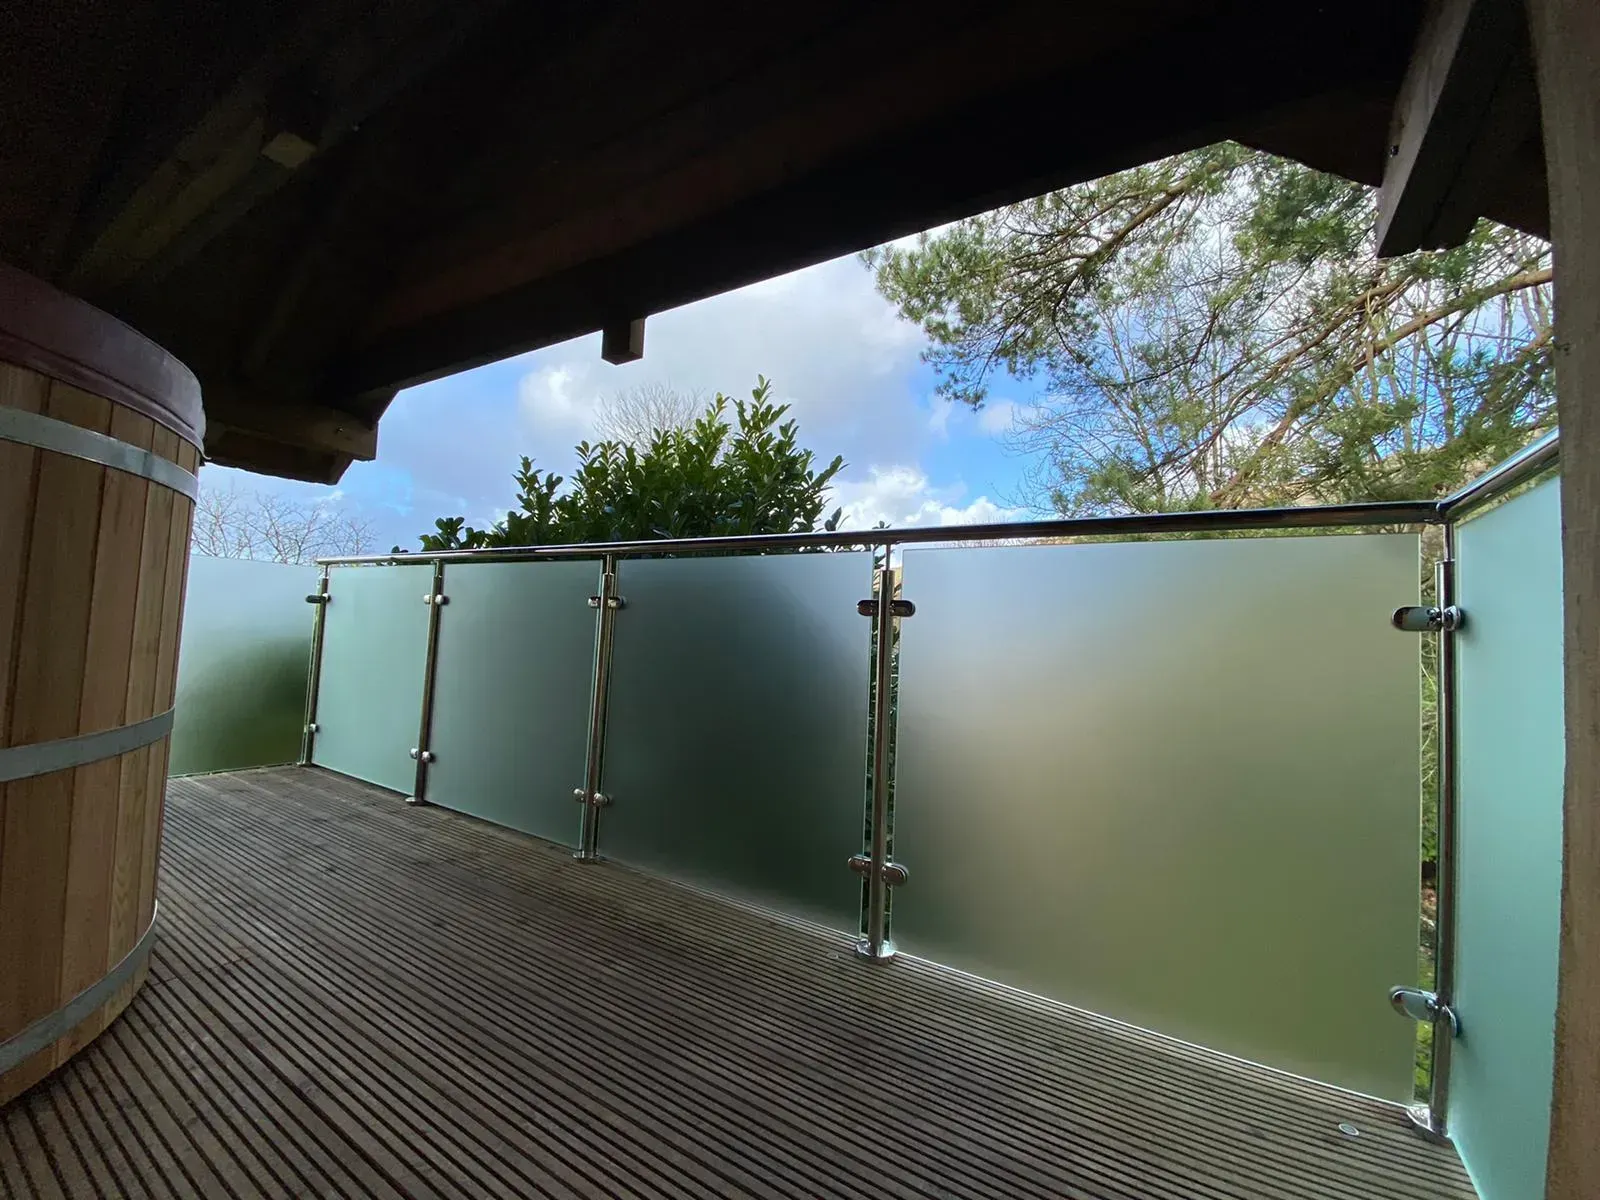
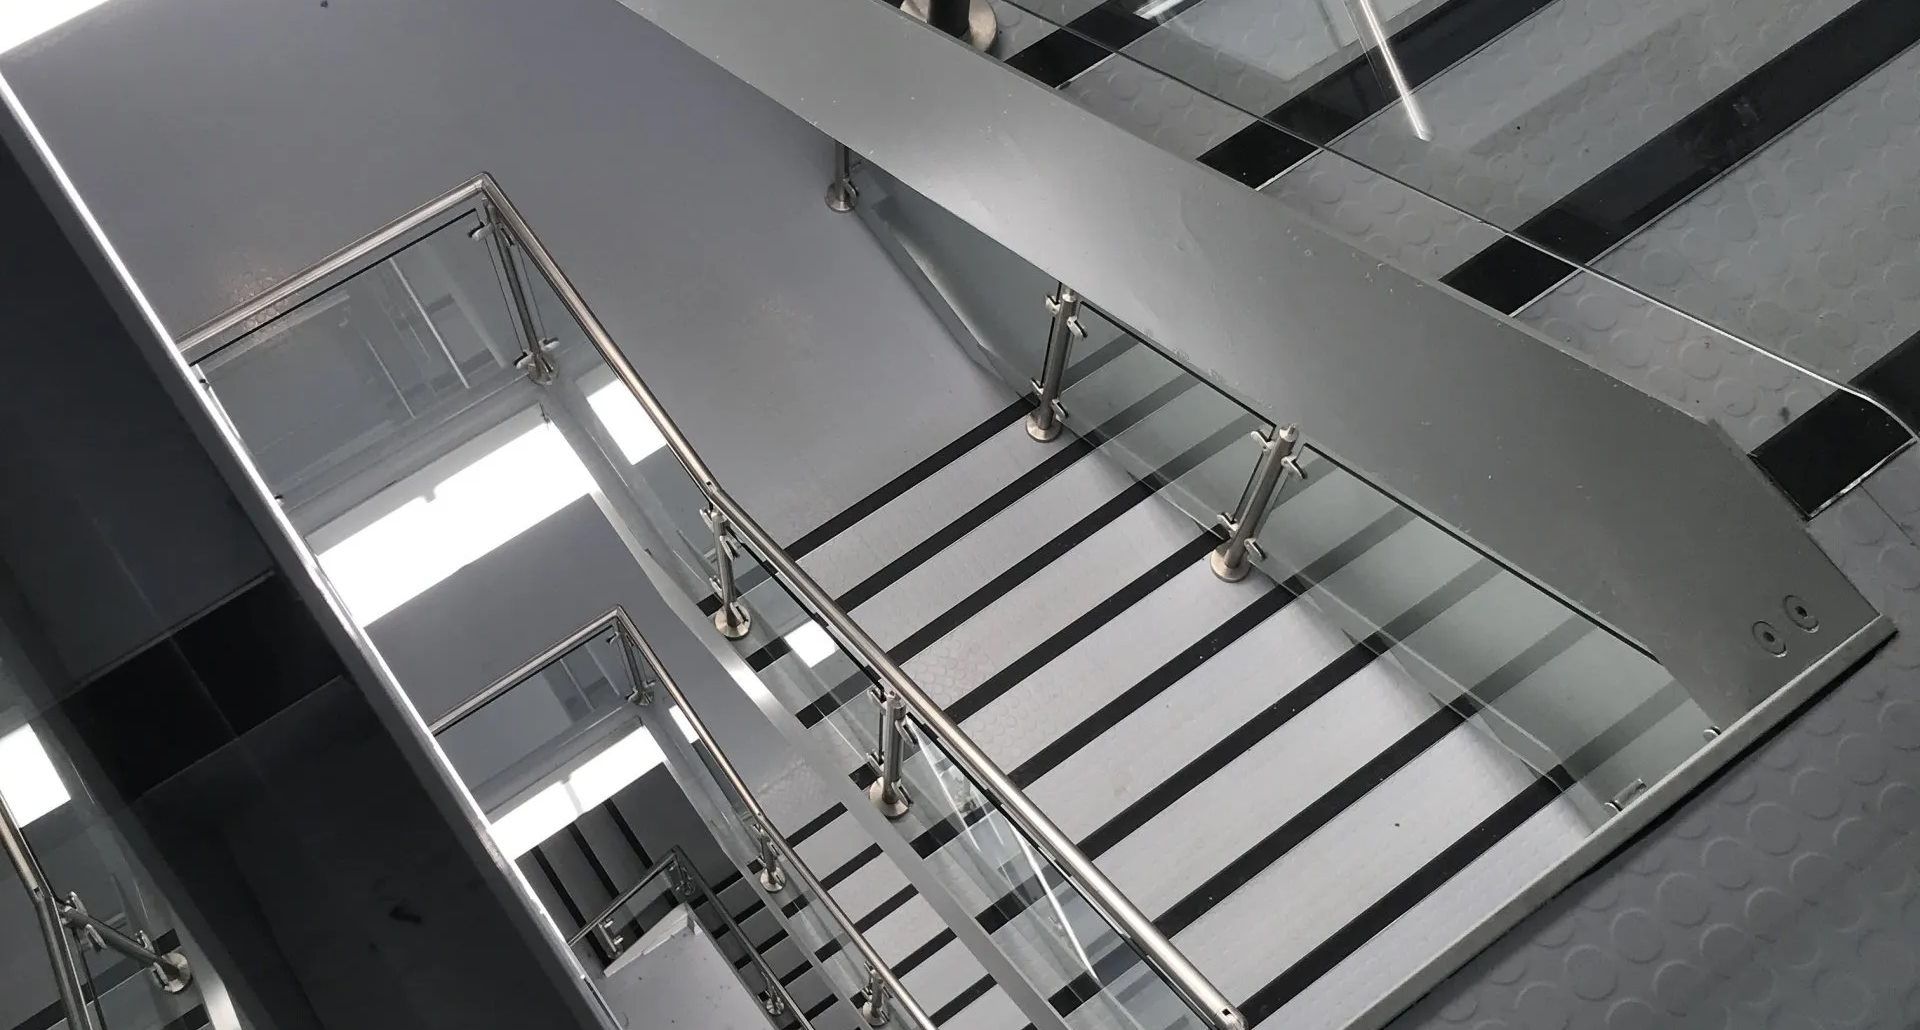
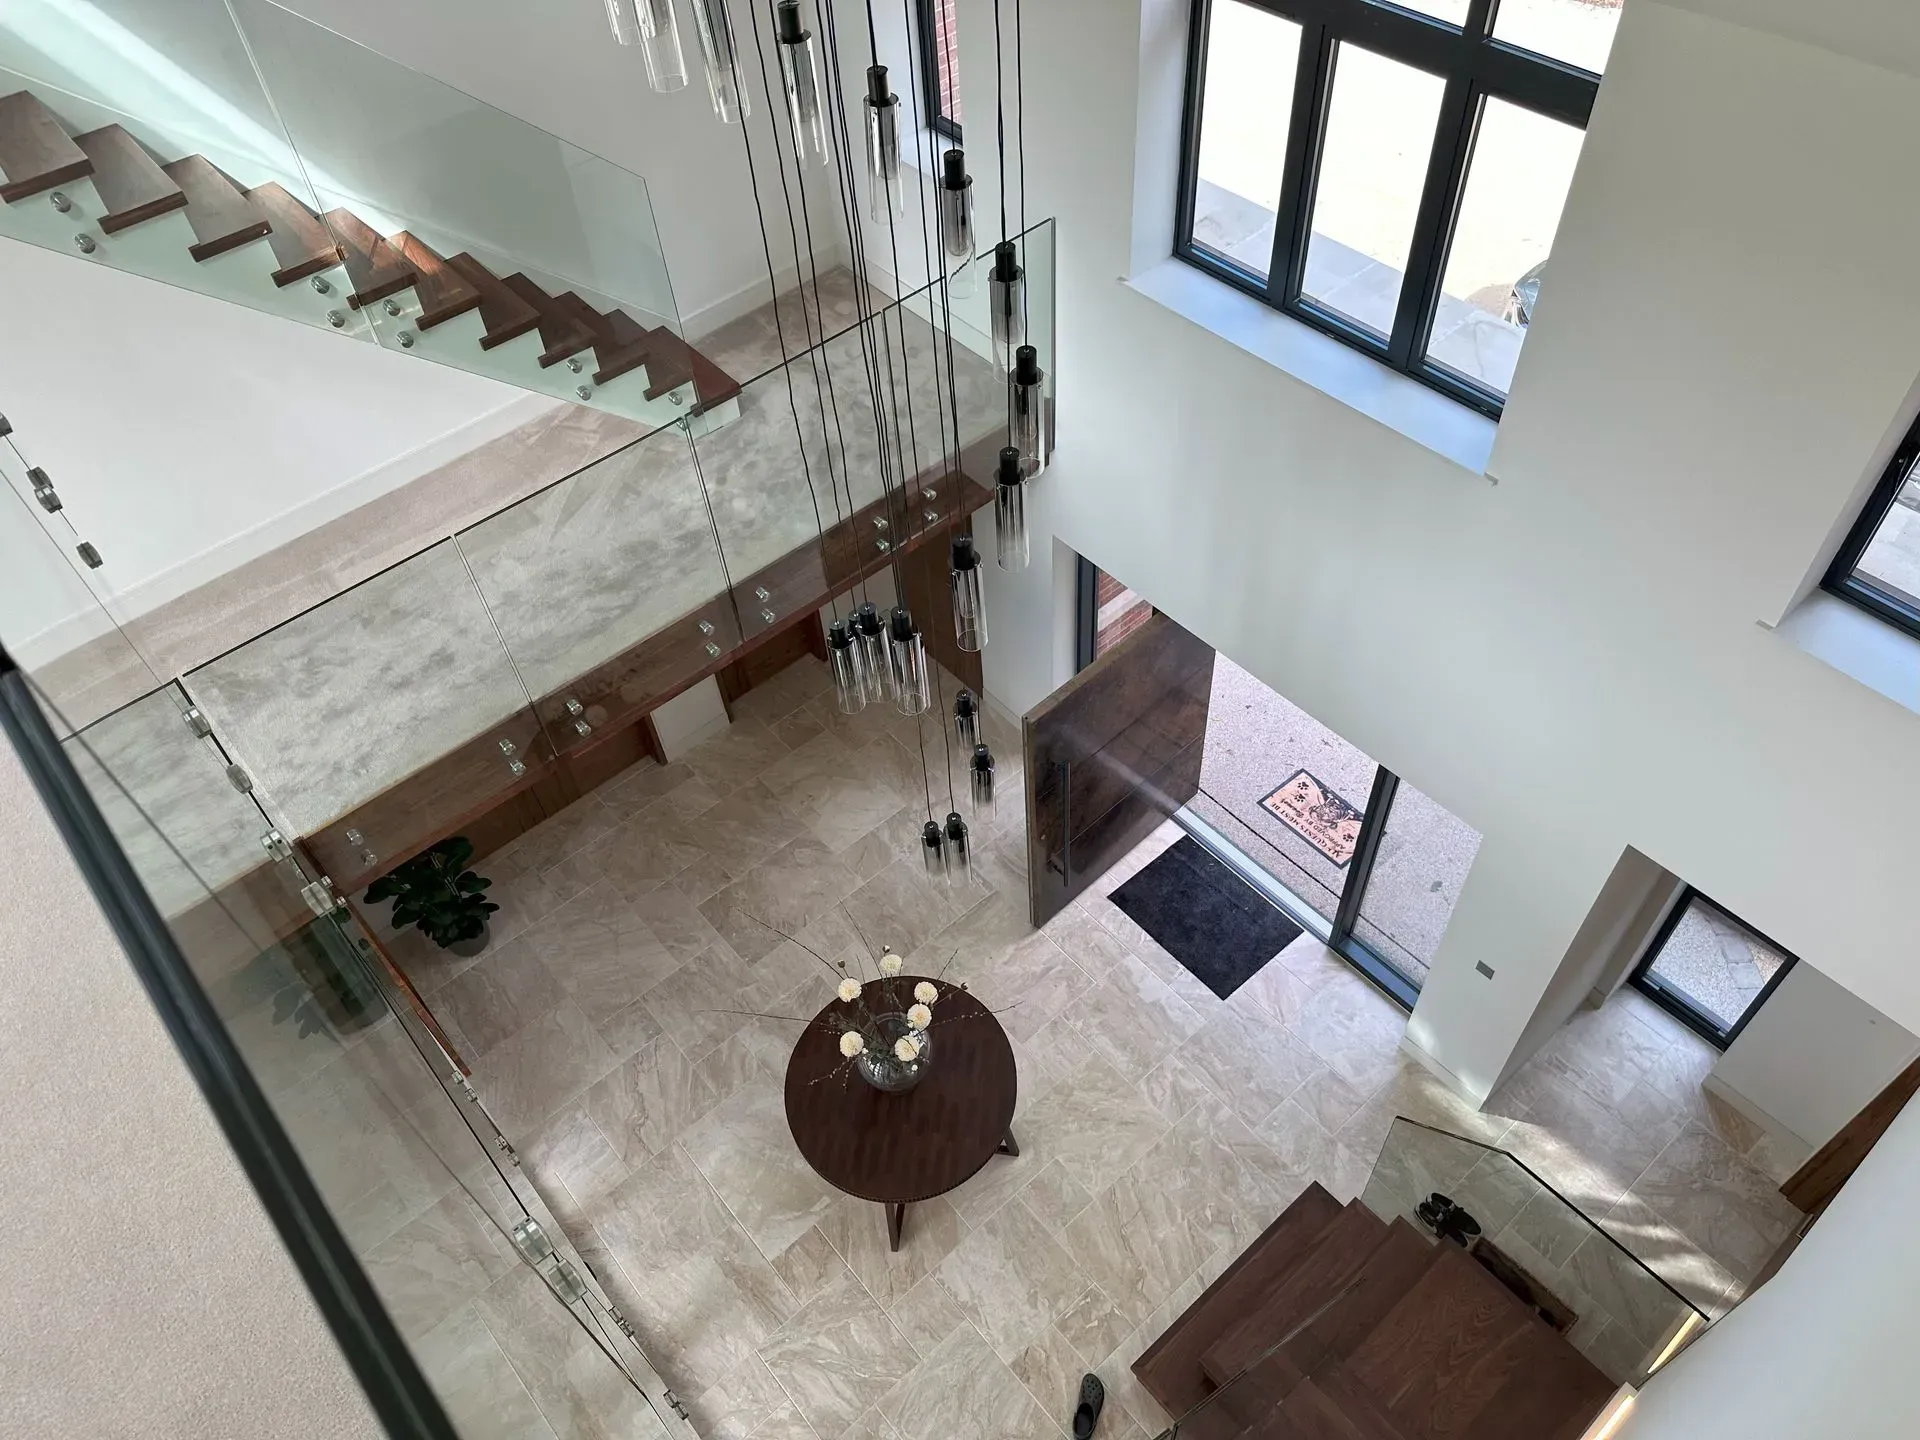
Glass infills are a great option when it comes to modular balustrade systems as they’re durable yet stylish in terms of restoring elegance and light to any space. They’re also very easy to clean and maintain.
Despite its impressive advantages, installing glass balustrade systems requires a lot of research and following a number of safety precautions. That is why it is best to get a specialist to do the job for you.
However, if you’re still interested in knowing how to fit glass balustrade systems, let’s go through the steps of doing so.
1. Planning and Preparing
Fixing modular balustrade systems can be quite daunting, especially when there’s a misconception surrounding glass balustrade systems being very fragile and easily broken.
However, that is simply not the case. TSS Balustrade Centre supplies strong and durable glass infills that are extremely safe for modular balustrade systems in any space.
There are a few things to consider before getting started. One of them is having a spare pair of hands as there will be points during the installation process in which it would help to have someone carry or hold materials steady for you.
Additionally, when carrying heavy materials, it is vital that you assume the correct stance to avoid any injuries. That means a straight back and bent knees.
2. Measure and Mark
When it comes to fitting glass balustrade systems, the key is to get this first step. Start off by marking out the floor exactly where each post needs to be so that the glass infills fit in between them. You can use a ruler or spirit level to ensure that all the postmarks match up perfectly.
If you’re reluctant to mark your floor, put down some masking tape and mark that.
Double check your measurements and parts. There is nothing worse than affixing materials and realising that something won’t fit or line up, forcing you to do it all over again.
3. Install the Balustrade Posts
The installation method varies depending on your choice of material for the underlying surface.
Grab each post and drill the required depth of the pilot hole based on the underlying surface of the area. Follow that up by drilling the correct fixings to fit the post in place.
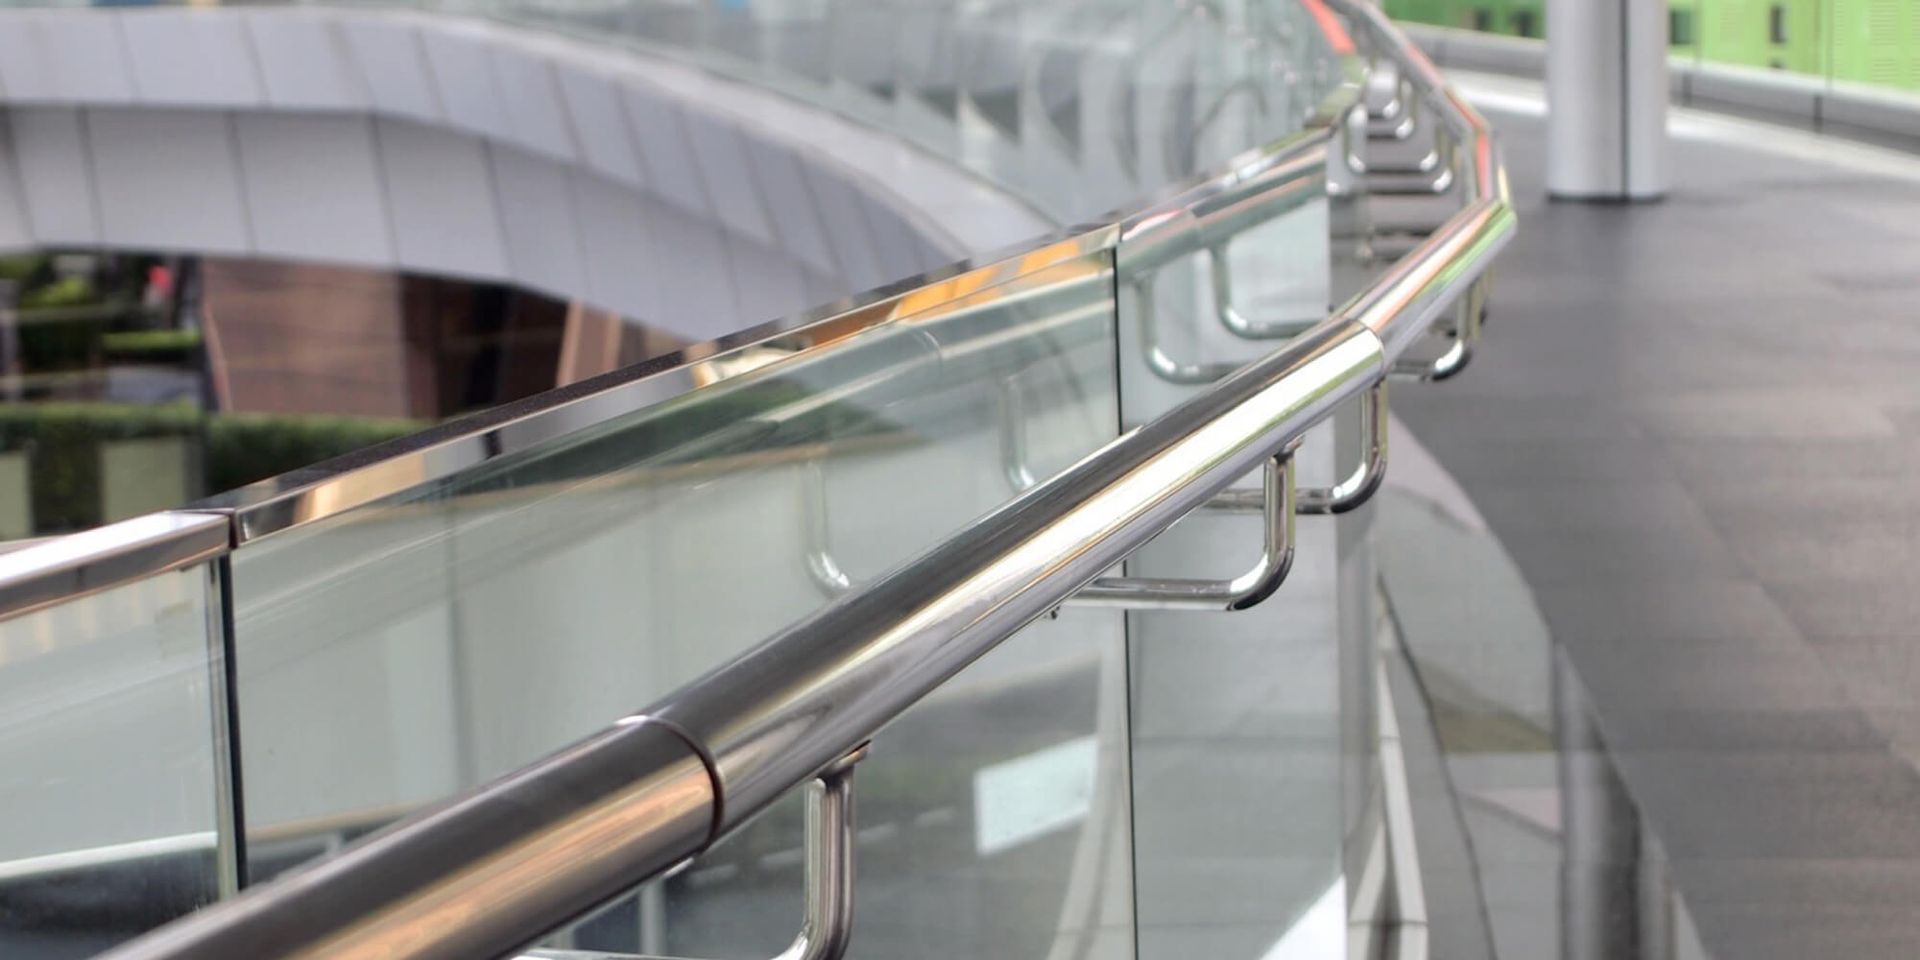
Our preferred fixings for modular balustrade systems are steel, masonry and timber. We also offer
glass adapters (button fixings) for a simple but elegant method of mounting glass directly onto a vertical surface via holes in the glass pane.
Do not tighten all the fixings as tight as possible straight away. First make sure that each post is level with the others by using a spirit level. Simply place it along the top of the posts in the space where the glass will soon be fixed.
Once you are satisfied with the position, finish off tightening the fixings with a spanner or socket.
4. Attach the Glass Clamps
Glass clamps are utilised to secure the glass to the modular balustrade systems posts and ensure that the weight is evenly distributed.
To ensure optimum safety, our glass balustrade systems are made out of toughened glass. Toughened glass cannot be drilled once heated during production, making glass clamps essential to hold it in place.
We recommend using 4 glass clamps per square metre of glass, located towards the top and bottom of the posts. Subsequently, use a spirit level to ensure all the glass clamps are level with each other.
Always make sure that the glass clamps chosen are the suitable size for the thickness of your glass.
5. Fitting the Glass Infills
After the glass clamps are in place in their correct position, you can now slide in your glass between the clamps very carefully. Many glass clamps can be slightly adjusted with screws so that the rubber fits securely around the glass.
It’s important that only incremental changes are made so there isn’t too much pressure being put on the glass. If the glass infills you have chosen are designed to leave a small gap between them and the floor, it may be necessary to place some supporting glass between the posts for the glass to rest on whilst you tighten the infill.
Make sure the supporting glasses are equal in height and you have yourself a brand new glass balustrade systems.
Have any more questions regarding how to fit glass balustrade systems for an easy and safe installation? Want to find out more about our
modular balustrade systems and
bespoke installations?
Get in touch today.